So we've actually finished Adventures in science, but I wanted to do the Circuit building activity anyway.. Here is how I came up to do it for the boys.
Building Circuits!

Video to teach Series VS parallel(short)
Please note I recommend switching from teh 12v /9v option to a 1.5 or 3 v options using 1 or 2 AA cells,. the (v were to powerful, a short caused a quickly melted wire. Use lower voltage. (v no 1.5 or 3v yes!
So first I printed out some circuit diagrams that I drew up for the boys, 1 copy of each for each boy
Parallel Circuit Diagram (PDF)
Series Circuit Diagram (PDF)
Then I cut out some cardboard scrap from boxes, slightly larger than the circuits , one per each boy. They don't have to be perfectly the same size, just big enough to tape the normal sized printed sheet of paper to.

Then I taped the circuit to the cardboard with scotch tape
Punching Holes
Then I used a pencil to poke holes through through the paper and the cardboard behind it for the brass pins, one at a time. Be sure your fingers are not where the pencil goes through, it's best to put them to either side of the hole to support it, or put the board so the hold is just off the edge of the table as shown


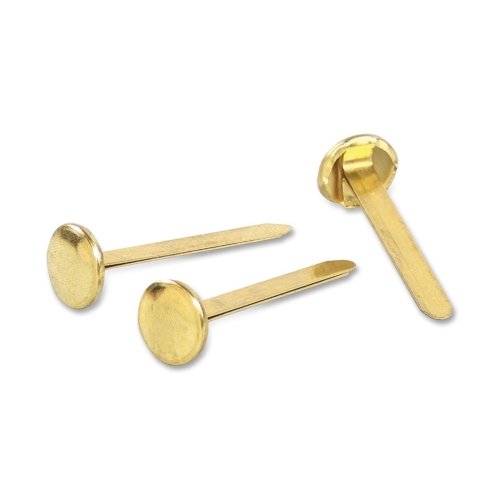
Inserting Pins
Then I inserted a pin through the hole, and bent it over on the back side


When putting one for the switch put the paper clip on the left brass pin first, then insert and fold it over, trying to put the paperclip on after the pin is in is too much work..

Be careful of the ones for the switch, you need to orient the tabs so they don't touch each other and tape them in place with scotch tape on the back side. if they touch, the paper clip will not work as a switch lever.

Cutting and Stripping wires
Then Cut pieces for wire to go between the pins on the diagram. make the pieces of wire 3" longer than the space between the pins or more (more is easier)
Then strip each one about 1.5" on each end (the long pieces of wire will be wrapped around the brass posts)

Then twist the exposed wire so it will not fray apart, hold the tip of the wire between 2 fingers of one hand, then twist the part with insulation with the other hand is the easiest way.
Attaching Wires
Wrap each end of the wire _CLOCKWISE_ around a Brass pin, where the lines are shown to build the diagram (if you don't wrap them all the same direction, later wires will unwind earlier wires)


The Battery
Strip the ends of the 9v connector 1.5 inches alsoThen attach the battery to the 9v connector
BE VERY CAREFUL NOT TO COUCH THE WIRES TOGETHER, 9v WILL MELT THE WIRE IN LESS THAN A SECOND! I didn't' realize how fast a short would melt the wires, but one of the scout did it and it was lightning fast.. like a flash bulb.
Don't short circuit the wires. Ever... not just on this project.
Then twist the wires to the battery pins getting + and _ (red and black) on correctly.
(Make sure the paperclip is not touching the second PIN, this is the switch in the OFF position.
If 9v makes you nervous, you can get 3v LEDs on amazon, and get a 2 aa batter holder instead. I did 9v, to save money. as long as the V of the batteries and the V of the LEDs match, it'll work fine.

Then I used a piece of Tape to hold the battery in place.
Then strip the ends of the LED wires, and put them in place.

Note that for the Pictures, I twisted the led wires at the LED end and then tied it into an overhand knot to make it look neater, but this is not required.
Be aware, that unlike regular light bulbs, LEDs don't work hooked up backwards. the D in LED stands for Diode, and you can think of a Diode as a one way valve for electricity. So if anyone is having trouble check this first.
Do not cut the LED wires short enough to match exactly, as stripping wires sometimes has to be done twice and will end up with a LED to short to fit. Leave some slack. as I was intending to reuse the LEDS for another project, I left them full length.
Double check everything then move the Paperclip to touch the second brass pin in the switch area, and it should all turn on.

Cool Tricks
Cool trick #1, if you bend the paper clip up away from the paper, and position it above the 2nd brass pin, you can press it down, and change the switch from a lever switch to a push button switch.Cool Trick #2, Replace the 3rd led wtih a 9v buzzer or motor, so the boys can learn that circuits are universal, theyc an run anything, not just lights
if you have a 9v capable incandescent light bulb that cool too.. or a string of LEDs
Remember that there are 2 sheets of paper, and you have to build 2 circuits, if you want to walk them through both circuits that's fine, or you can tape both pieces of paper down, series on bottom and parallel on top, then pull the top paper off when you are done that's cool too...
Supplies
Here is what I bought on amazon to do this... this was an expensive one,

Red black 20 g wire

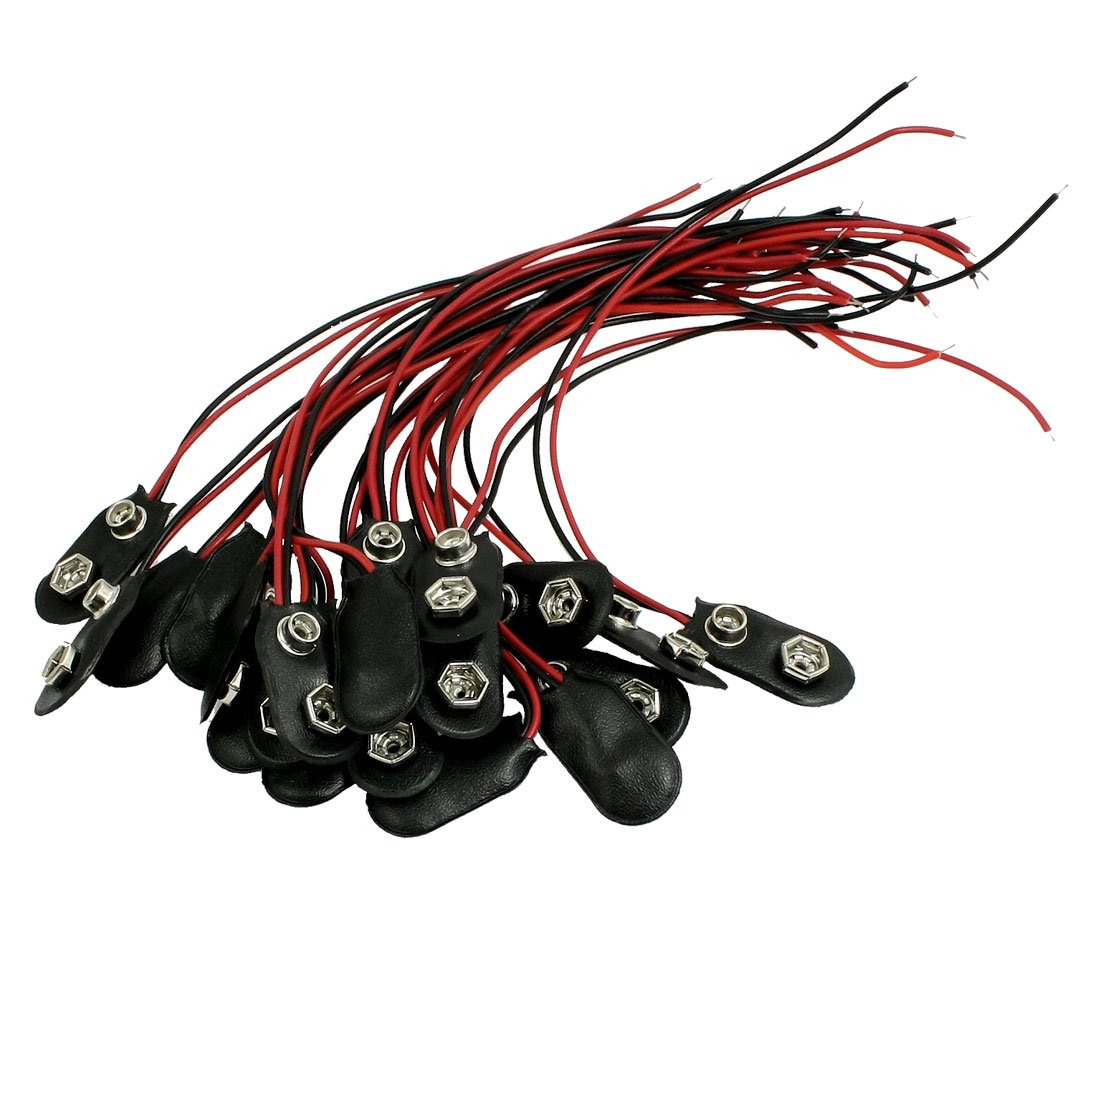
9v battery connectors

9 v batteries
I had some small paperclips lying around, so I used them, but you can buy them too.

Cheap wire strippers, 1 for every other scout (4) 20-30 gauge ($5 each)
If you don't want to get these, just pre cut and pre strip everything for the boys. I wanted them to learn how, so I pre cut and pre stripped most of it, and the boys will cut and strip just a couple wires each. This will keep the activity fast.
I didn't think of pre doing them all, till after I'd bought all the wire strippers, so I had to make the best.
If you get with the other webelos den leaders in your den, maybe you can share the stuff to do this project. I'm thinking about lending my gear to the other two dens.